


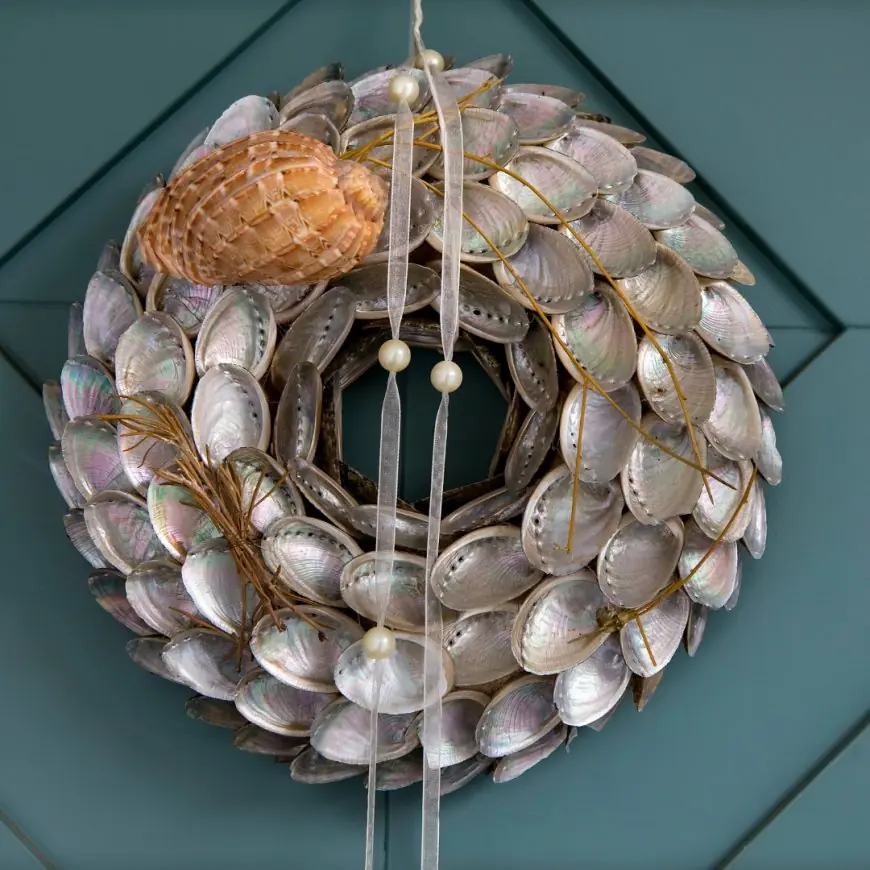
DIY SEASHELL WREATH
How to make your seashell wreath at home! Easy and Quick!
Seashells, in their simplicity, serve both as nourishment and as beautiful ornaments. Seashells are a delicious delicacy in the Philippines enjoyed by many. Nowadays, seashells are not only for the palate but also for decorations. These lovely seashell ornaments and decorations adorn hotels, resorts, and homes. Today, I will teach you how to make a seashell wreath for your lovely houses. But for starters, I will tell the story of how my fascination with seashells began.
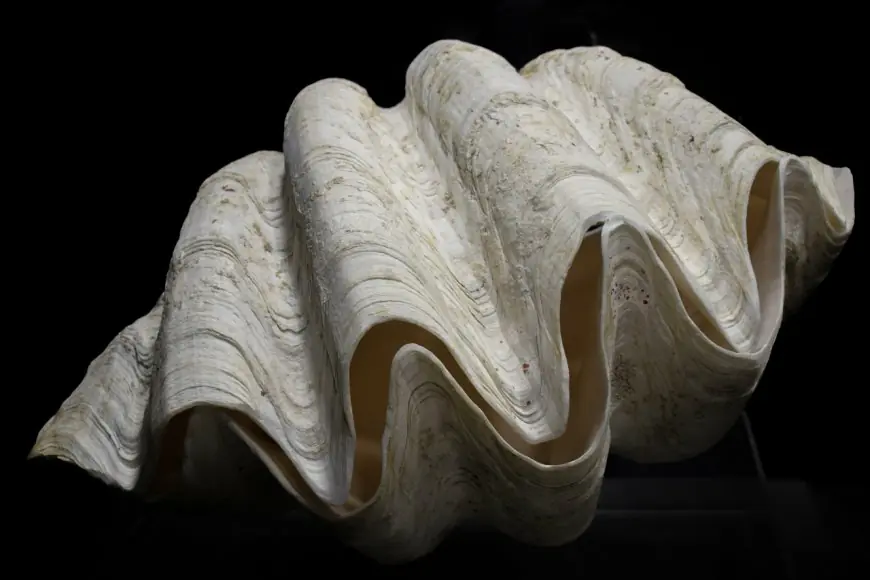
We used to live on one of the many islands in the Philippines. Our closest neighbors, a mere ten-minute walk away, owned an intriguing assortment of sizable sea shells. When I was young, they'd often encourage me to press my ear against the shell's opening and gently close my eyes, allowing me to submerge myself in the mesmerizing melody of the ocean waves crashing against the shore. It was a moment of pure wonder for me, as the unmistakable sound of the sea vibrated from within the depths of the shell. The locals named this particular type of sea shell "Bojong." It served not only as a decorative ornament but also as a surprising source of sound. Did you know Bojong could produce quite a loud noise when handled correctly? The Bojong is a large sea shell, often as big as an adult's head, sometimes even larger. It has small finger-like projections around its opening and blunt spikes on its back.
Now that I’m thinking of it, what made it even more fascinating was that the locals treated these seashells not as prized possessions but as simple decorations to adorn their flowerbeds after enjoying the shellfish delicacy. You know, it's interesting how lots of folks are making a living by working with sea shells these days. It's becoming quite a thing in many households, both local and overseas.
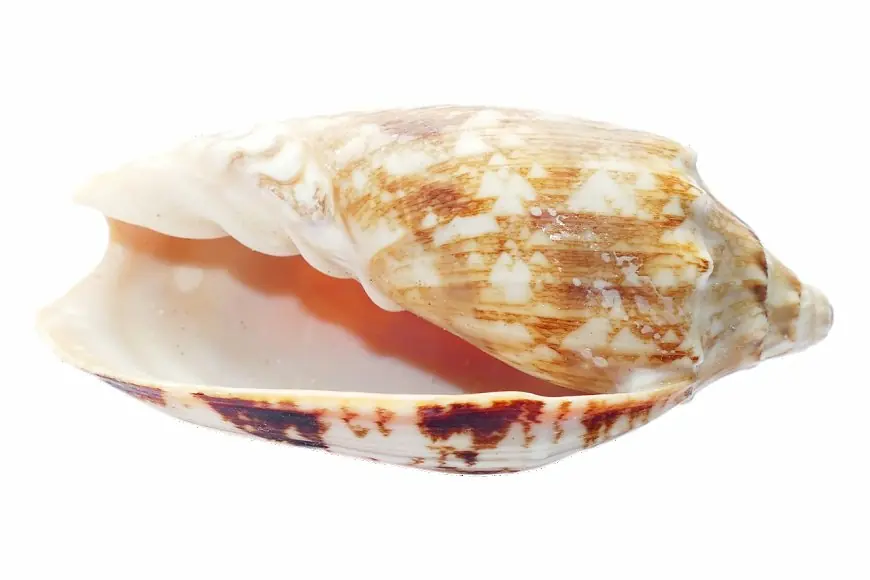
During our time on the island, every weekend, we'd go to the beach and spend hours collecting beautiful pebbles and small, empty shells scattered along the shore. Meanwhile, my mother would gather live seashells, not for decoration, but for food. Seashells are made for a truly heartwarming delicacy, especially when cooked with coconut milk, adding a rich and savory flavor to the dish. I remember one time while we were gathering sea shells, my mother found lapas, flattish and ear-shaped shells decorated with spiral designs. They were as large as her palm, which isn't typical, so my mother was incredibly surprised and couldn't believe her luck. She whipped it up with noodles, which isn't how we usually do it. But you know what? We ended up feeling so full and content after that dinner. It was surprisingly satisfying.
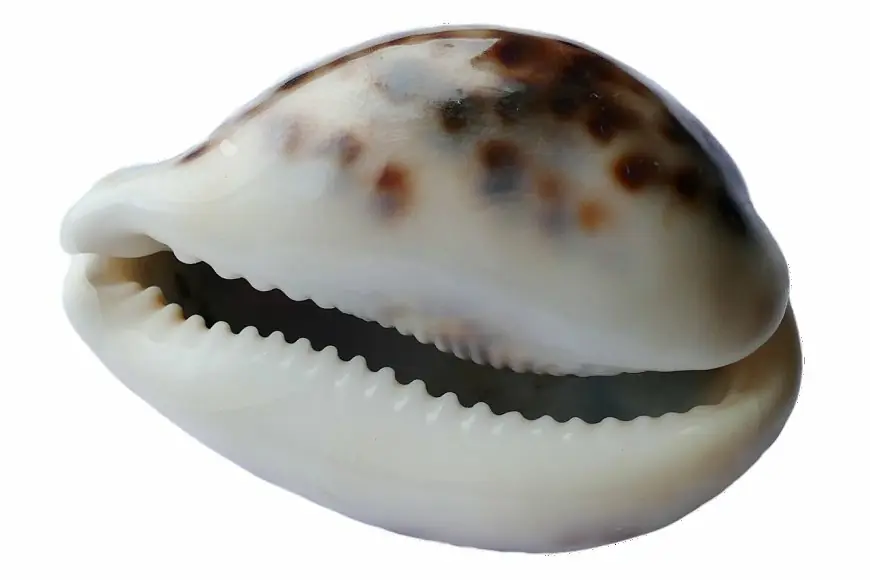
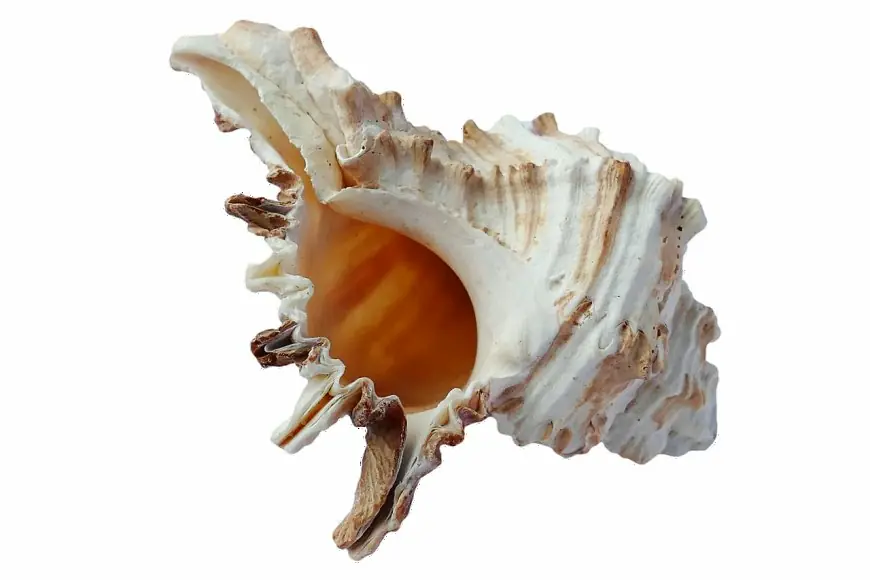
Above all, these trips to the beach helped me collect a wonderful assortment of seashells. Among my finds were taklobo, aninikad, lima-lima, talaba, lapas, halaan, sigay, and bungkawil, among others, each known by its local name. Sigay, especially, became my cherished and favorite plaything. What I treasure most, however, are the moments spent searching and picking out those remarkable seashells with care.
Moving on, let's get back to the main point: creating our seashell wreaths! Making one of these beautiful decorations is a fun and creative do-it-yourself project. Here's a step-by-step guide to help you begin:
Materials Needed:
1. Assorted Sea shells (collected or purchased, I recommend sigay or lapas shell for striking aesthetic)
2. A wreath base (can be foam, straw, or wire)
3. Hot glue gun and glue sticks
4. Ribbon or twine (for hanging)
5. Optional: Paint, glitter, or other decorative materials
Step 1: Gather Your Materials
Collect all the materials you'll need for your sea shell wreath. Make sure you have enough sea shells to cover the wreath base adequately.
Step 2: Prepare Your Work Area
Find a clean and spacious area to work on your project. Lay down some newspaper or a protective covering to prevent any mess.
Step 3: Arrange Your Sea Shells
Take some time to organize your sea shells by size, shape, and color. This will help you plan out the design of your wreath and make the assembly process easier.
Step 4: Heat Your Glue Gun
Plug in your glue gun and allow it to heat up fully. Make sure to use caution when handling the hot glue to avoid burns.
Step 5: Attach Sea Shells to the Wreath Base
Starting at one point on the wreath base, apply a small amount of hot glue to the back of a sea shell and press it firmly onto the base. Hold it in place for a few seconds to ensure it adheres securely. Add sea shells around the wreath base, overlapping them slightly for a fuller look.
Step 6: Create Layers and Texture
As you work your way around the wreath base, vary the sizes and shapes of the sea shells to add depth and texture to your design. You can also experiment with different arrangements to achieve the desired look.
Step 7: Fill in any Gaps
Once you've covered the entire wreath base with sea shells, go back and fill in any gaps or empty spaces with smaller shells or pieces. This will help create a more cohesive and polished finish.
Step 8: Add Optional Decorative Touches
If desired, you can add additional decorations to your sea shell wreath, such as painting the shells, adding glitter, or incorporating other embellishments to enhance its appearance.
Step 9: Attach a Hanging Ribbon or Twine
Once your sea shell wreath is complete and the glue has fully dried, attach a ribbon or twine to the top of the wreath for hanging. Make sure it's securely attached so your wreath can be displayed safely.
Step 10: Display Your Sea Shell Wreath
Find the perfect spot to hang your beautiful sea shell wreath and enjoy the coastal charm it brings to your home decor!
Feel free to customize your sea shell wreath according to your style and preferences. Moreover, you can create a variety of sea shell ornaments to your liking. Have fun and get creative with your designs!