How to Install Grass Pavers in Your Yard
Grass pavers are uniquely eco-friendly paving options that are quickly gaining popularity in the fields of landscaping and urban planning. They blend durability with natural aesthetics harmoniously, making them a perfect fit for a variety of outdoor spaces. Grass pavers, unlike traditional concrete or asphalt surfaces, feature a grid-like structure that supports grass growth, thus […] The post How to Install Grass Pavers in Your Yard appeared first on The Architecture Designs.
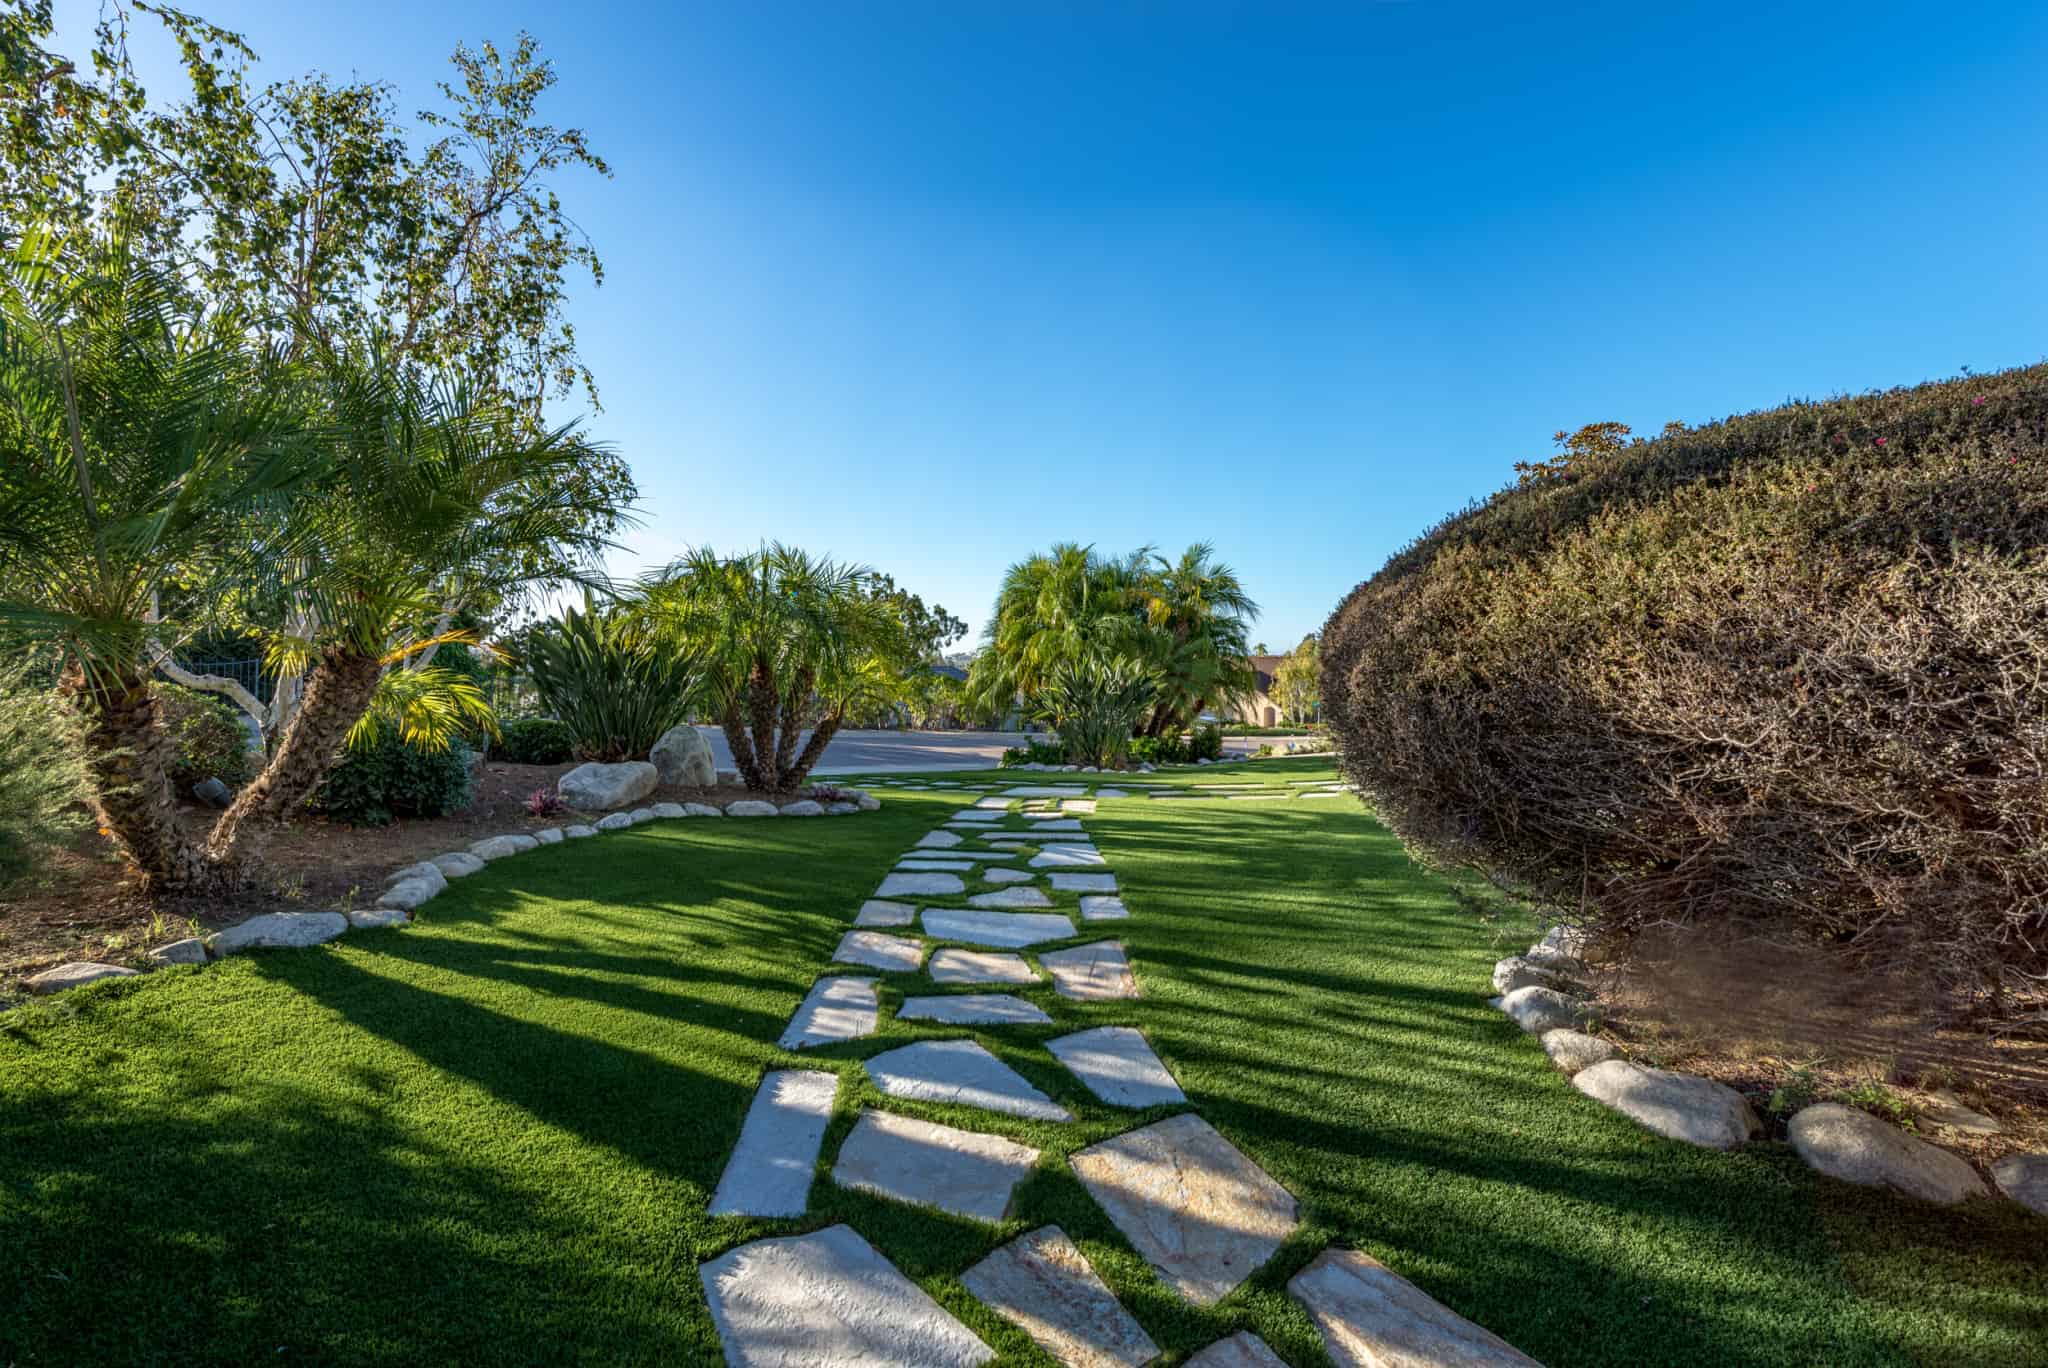
Grass pavers are uniquely eco-friendly paving options that are quickly gaining popularity in the fields of landscaping and urban planning. They blend durability with natural aesthetics harmoniously, making them a perfect fit for a variety of outdoor spaces. Grass pavers, unlike traditional concrete or asphalt surfaces, feature a grid-like structure that supports grass growth, thus creating a surface that seamlessly integrates with the natural environment.
Grass pavers significantly benefit the environment, primarily by reducing stormwater runoff, a major contributor to water pollution. When rainwater flows over impervious surfaces like asphalt or concrete, it picks up pollutants and channels them into waterways. Grass pavers, however, enable rainwater to penetrate the soil, which filters and recharges groundwater, and reduces the flow of pollutants into rivers and streams. This permeability feature of grass pavers is also instrumental in managing stormwater, as it absorbs water instead of letting it accumulate on the surface, thereby preventing flooding and erosion around the paved area.
Tools and materials necessary for installation
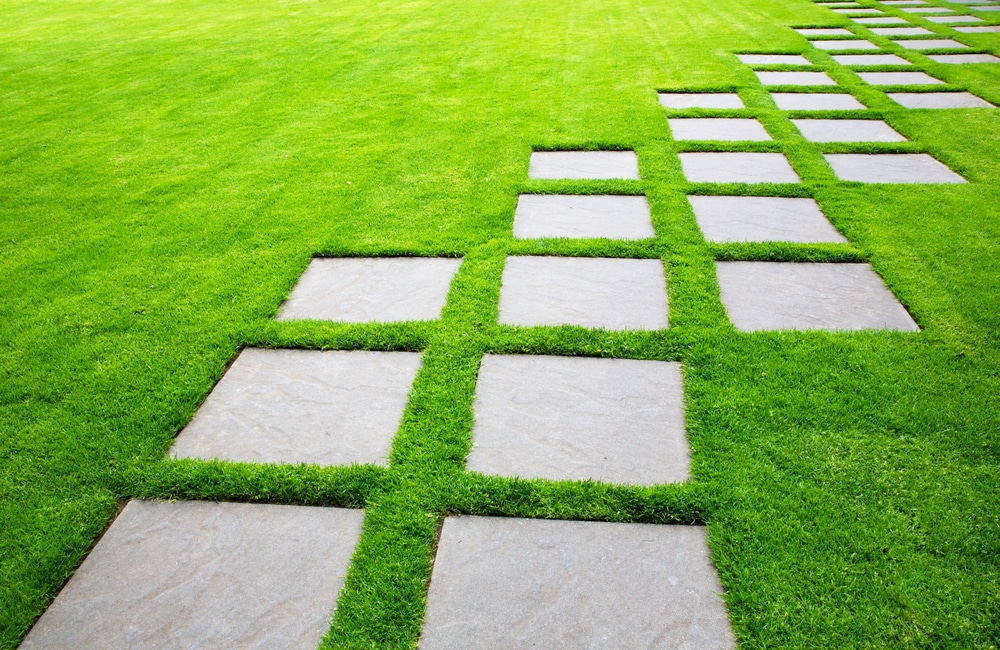
source: everlastservices.com.au
For the installation of grass pavers, you’ll need a variety of tools and materials to ensure a successful and efficient process. The essential tools for this task include:
- Shovels: Necessary for excavating the job site and moving sand.
- Rake and Broom: To evenly spread gravel and sand across the base.
- Wheelbarrow: Useful for transporting pavers and other materials.
- Rubber Mallet: Essential for evening out and aligning the pavers.
- Level, String Line, and Measuring Tape: These are crucial for ensuring your pavers are level and evenly spaced.
- Screed Rails and Bar: These help in leveling your setting bed.
- Hand Tamper or Plate Compactor: Important for compacting the base material, creating a solid foundation for the pavers.
- Personal Protection Equipment: Includes gloves, safety glasses, and ear protection to ensure safety during the installation process.
- Masonry Chisel and Saw: For cutting pavers as needed. It’s recommended to use a saw with a concrete blade or a diamond blade for efficiency.
- Paver Edging: To prevent the pavers from moving and shifting.
- Polymeric Sand or Joint Sand: Used to fill the spaces between pavers.
As for the materials, the primary ones include:
- Paver Base: This coarse-textured base allows for drainage and helps lock the pavers into place.
- Gravel and Sand: For creating the base layer and the setting bed for the pavers.
- Concrete or Sand Filler: Used for setting and stabilizing the pavers.
- Pavers: Available in various shapes, colors, and styles, you’ll choose these based on your design preferences.
Remember, the specific tools and materials may vary slightly depending on the type of pavers and the scale of your project. It’s also essential to consider any additional tools or materials that might be needed for unique aspects of your project, such as landscaping or drainage solutions
The planning and design phase
source: installitdirect.com
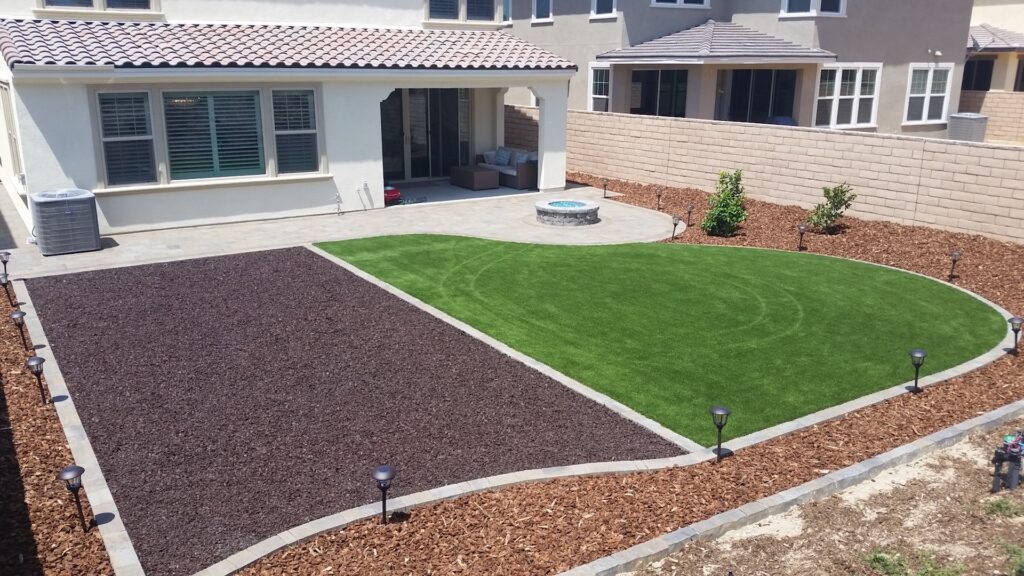
Layout Planning: Begin by planning the layout, measuring the area to estimate paver needs, and marking boundaries with stakes and strings for installation guidance.
Paver Selection: Choose pavers based on usage; use concrete for heavy-duty areas like driveways, plastic grass block pavers for light uses such as pathways, and reinforced plastic netting for slope erosion control.
Paving Pattern: Select a pattern (running bond, herringbone, basket weave) that enhances aesthetics and contributes to surface stability, aligning with design and functional needs.
Pros and Cons: Understand grass block pavers’ benefits (environmental advantages, groundwater recharge) and drawbacks (maintenance similar to lawns, higher cost, shorter lifespan). Consider regular pavers with grass for level surfaces.
Drainage and Compaction: Ensure proper drainage to avoid flooding and compact the base material for a strong foundation.
The planning and design phase of grass paver installation is pivotal in achieving a successful and lasting result. It ensures that the project not only meets aesthetic goals but also adheres to practical considerations like durability, maintenance, and functionality.
Proper Preparation
source: pinterest.com
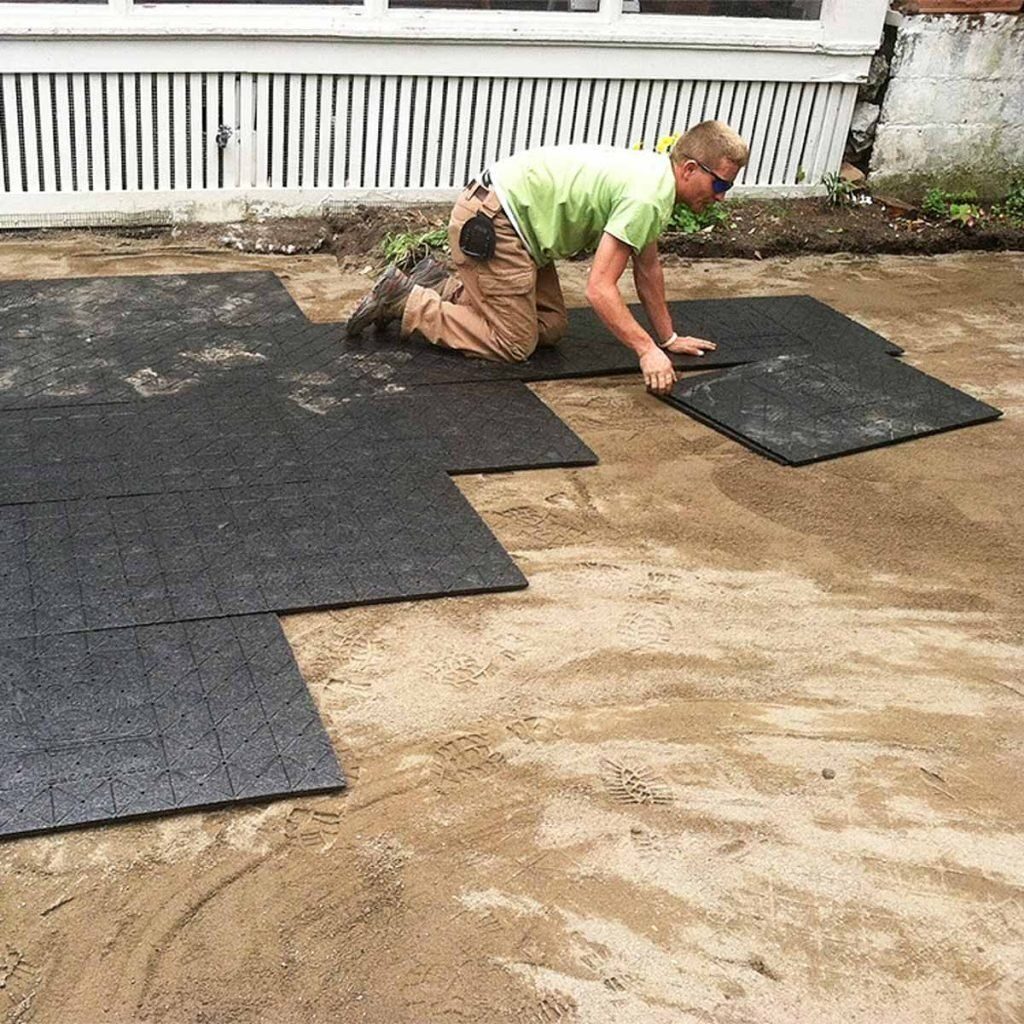
Preparing the area for grass paver installation involves several critical steps to ensure a successful and durable outcome:
Removing Existing Grass and other Vegetation: Use a shovel to remove the grass and all grass and plants in the work area. This is essential for creating a level ground surface and avoiding growth under the pavers.
Excavating the Soil: Dig deep enough to allow for both the base of the gravel and the pavers’ thickness. Consistency in depth across the prepared area is important for a level final appearance.
Compacting the Soil: After excavation, compact the soil using a hand tamping device. This step is vital to create a stable and secure base for the pavers and to minimize any settling or shifting of the pavers over time.
Installing Landscape Fabric: Cover the area of compacted soil with landscape fabric, extending it over the entire area that was excavated. The fabric acts as a weed barrier and contributes to the pavers’ long-term stability.
Laying the Base: Evenly distribute a layer of gravel over the area, with a depth ranging between 2 and 4 inches. Compact the gravel with a plate compactor to establish a solid and level foundation that can endure the pavers’ weight and facilitate effective drainage.
Adding a Layer of Sand: On top of the base of gravel, apply a layer of coarse sand, about 1 inch in depth, over the compacted gravel. This acts as a cushion for the pavers and aids in leveling.
Screeding the Sand: Ensure an even layer of sand using a screed board. This step is crucial for achieving a flat and smooth base for the pavers.
All of these steps play a crucial role in preparing the area for grass paver installation, ensuring that the final result is both aesthetically pleasing and structurally sound and durable. It’s important to follow these steps carefully and adjust as needed based on the specific requirements of your project.
Installation process of grass pavers
source: pinterest.com
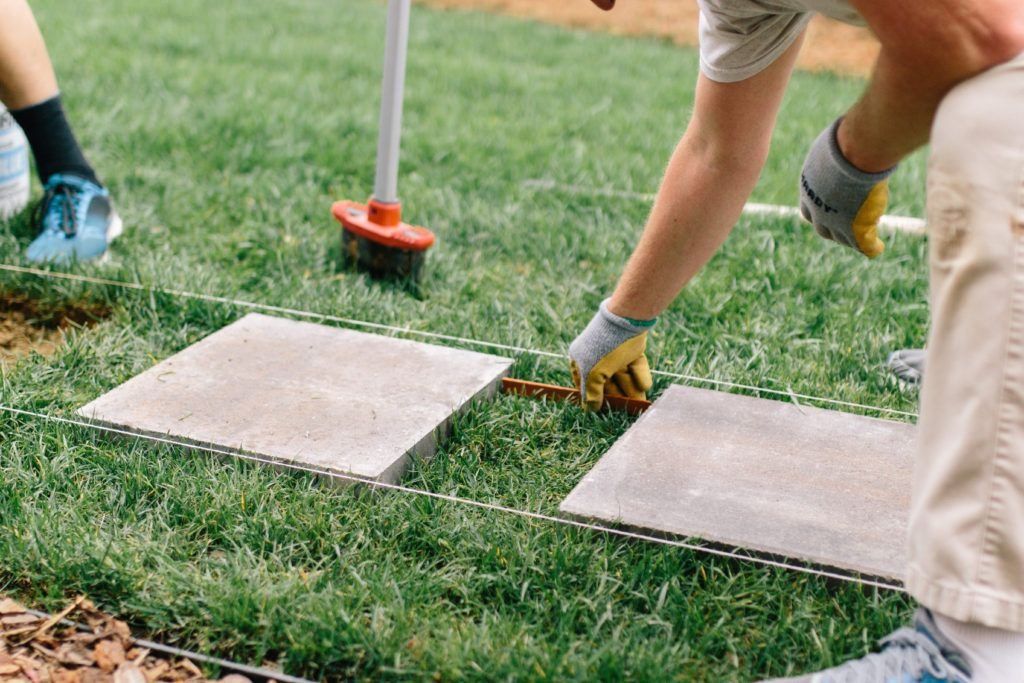
- Carefully place the pavers on the sand layer, starting from a corner or edge. Use a rubber mallet to adjust and ensure they are level during installation.
- For intricate patterns like herringbone, basketweave, or running bond, it’s important to maintain the pattern while ensuring each paver is aligned and level.
- After laying the pavers, fill the gaps with sand or soil. For grass growth between the pavers, you can plant grass seeds or place sod in the joints.
- Finally, water the area to settle the sand/soil and encourage grass growth.
The takeaway
source: pinterst.com
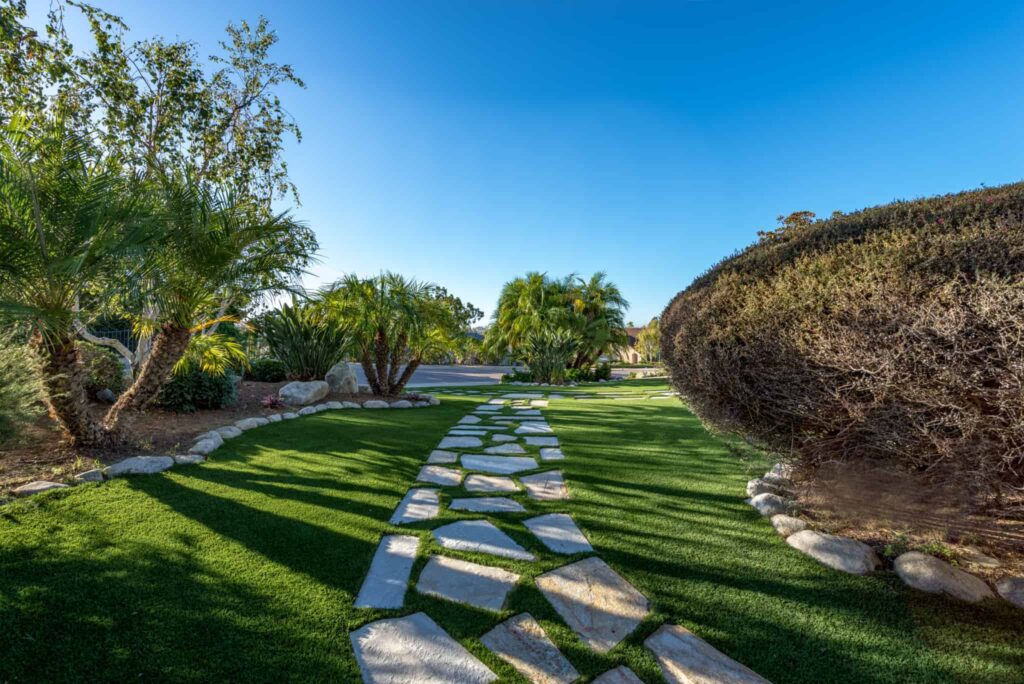
The installation of grass pavers is a meticulous and environmentally beneficial process that enhances the aesthetics and functionality of outdoor spaces. The method involves careful planning and design, where the choice of paver type, layout, and pattern is crucial to meet both aesthetic and practical requirements. The preparation phase is equally essential, including steps like removing sod, excavating and compacting the soil, laying landscape fabric, and preparing a stable base of gravel and sand. This groundwork is vital for ensuring a durable and stable paver installation.
The actual installation process, which involves placing and leveling the pavers, followed by filling the gaps with sand or soil, requires precision and attention to detail. For optimal results, patterns such as herringbone, basketweave, or running bond should be meticulously maintained. Planting grass seeds or placing sod in the joints promotes the growth of grass, integrating the pavers with the natural environment. Not only do grass pavers offer an aesthetically pleasing and eco-friendly paving solution, but they also contribute to environmental sustainability by reducing stormwater runoff and promoting groundwater recharge. The successful installation of grass pavers, therefore, achieves a harmonious blend of functionality, beauty, and ecological responsibility in landscaping and urban planning.
The post How to Install Grass Pavers in Your Yard appeared first on The Architecture Designs.


